
Materials:
- 24 gage metal wire
- two nails
- pice of coat hanger
- various metal strips
- lamp wire
- base board (wood)
- screws
- gator clips
- 6 volt battery
- electrical tape
- strap iron
- vise
Building the Armature
When I built the armature, I used two nails, tape, a pice of coat hanger (for the shaft), and 24 gage metal wire. First, I taped two nails together with the heads on opposite ends. Then, I measured where the middle was, and pierced the tape and put the coat hanger through, leaving 2" sticking out on one side.


After doing this, it was time to wrap the wire. I started from the middle, wrapped it to one side, went back to the middle, crossed over, and did the same to the other side. I left about 2" of wire left over and sanded off the varnish.


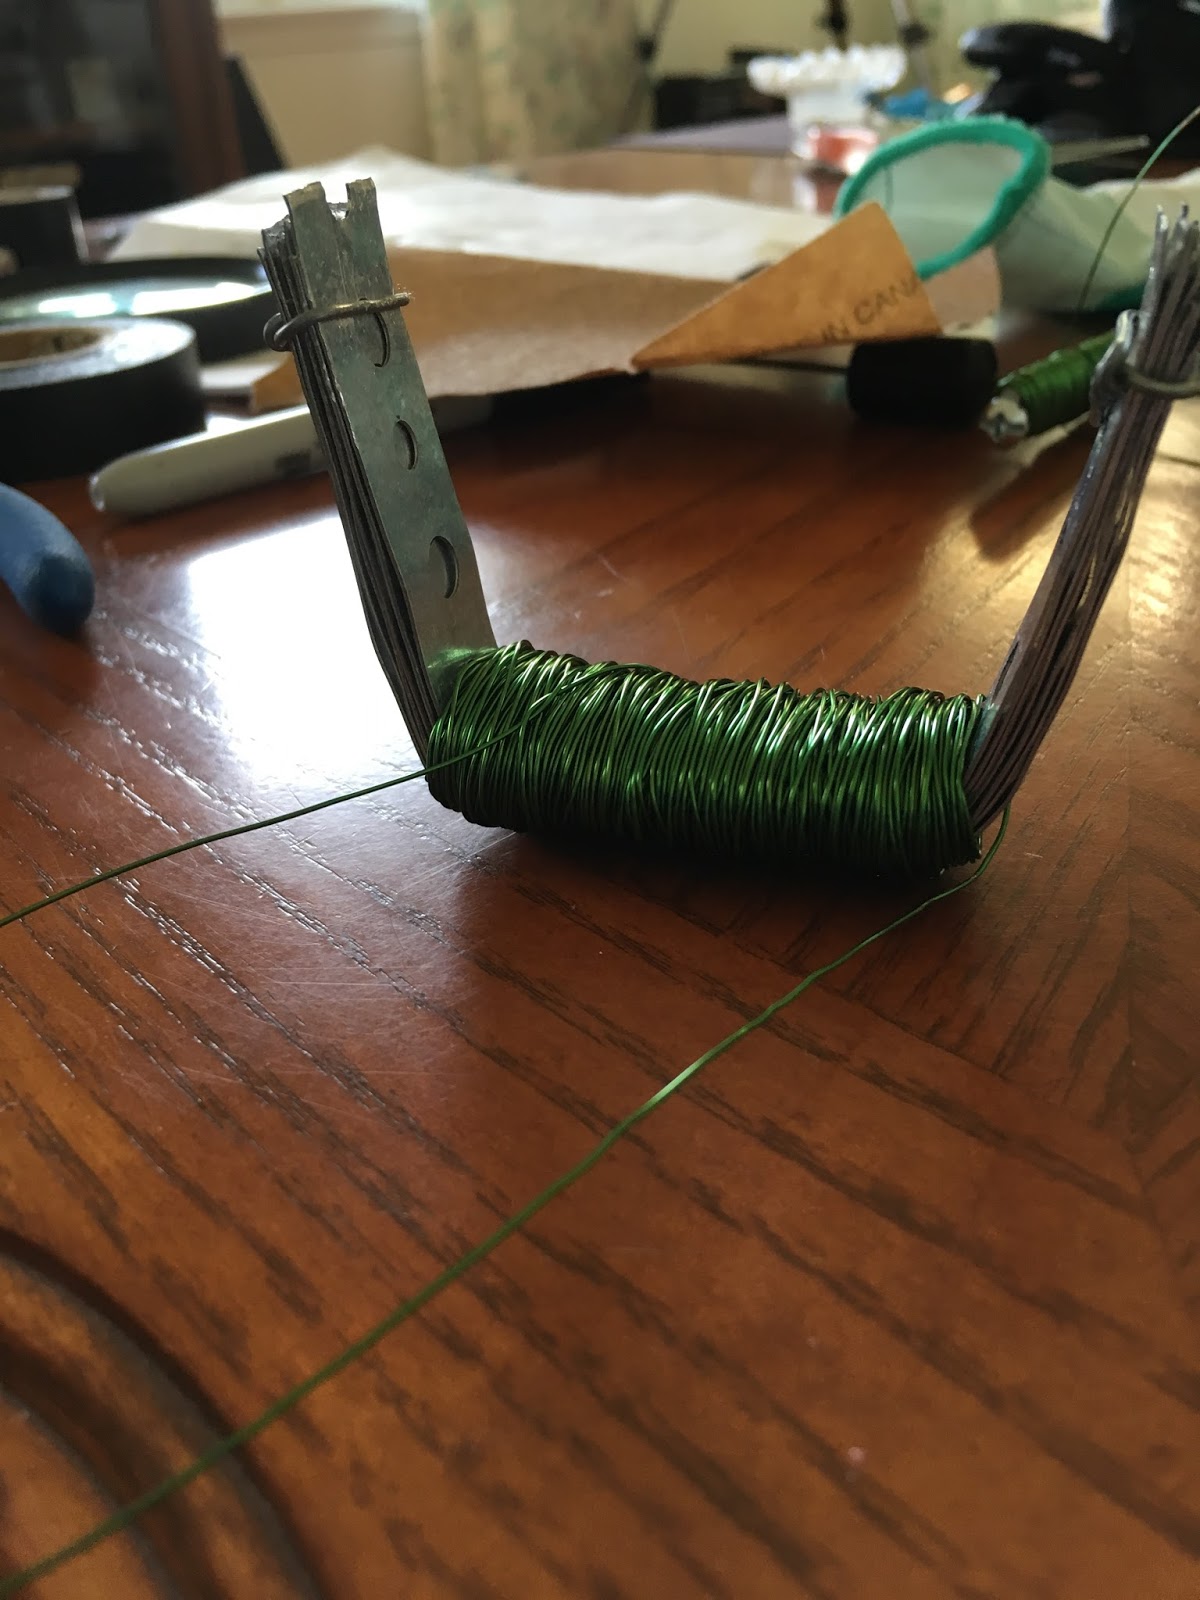
Building the Field Magnet
For the field magnet, I used a vise and bent strap iron in two places. I used multiple pieces to make the magnet stronger. I made sure that it was wider that the armature so that it could spin freely without interferences.

Building the Commutator
To build the commutator, I used electrical tape and aluminum foil. I wrapped the tape around the shaft, about 3/4" from the armature. I kept wrapping the tape until the cylinder it created was about 1/2" in diameter. For the terminals, I used aluminum foil. I cut out two pieces and folded them until they fit around about a quarter of the cylinder. I then taped the terminals running lengthwise on the cylinder with one end of the metal wire under each one.

Making the Supports
I used different sized pieces of metal strips to make the supports for the shaft, brushes, and field magnet.

Shaft support:
I cut two congruent pieces of metal. I then folded them in half length wise to make it stronger. Then, I left about 1/2 inch left at the bottom and folded it 90º. Then near the top, I drilled a hole in each. I made sure these holes were the same height. These holes would hold the shaft over the field magnet.
I also drilled holes in the bottom so that I could eventually screw them into the wood.
Brush support:
For the brush supports, I cut out two equal-sized strips of metal. I then left about 1/2" at the bottom and bent them at about 120º. I drilled a hole into the bottoms so that I could later screw them into the base.


Field Magnet support:
To secure the field magnet to the base, I cut out a large strip of metal. I bent it over the base of the magnet to shape it and make sure it was the right size. Then I drilled holes on each side. I positioned the magnet on the wood and secured it by screwing on the support.


Making the Brushes
To make the brushes, I used copper-strand lamp wire. I cut two pieces that were about 1 1/2" each. I then stripped the wire. Using electrical tape, I taped the brushes to the supports.


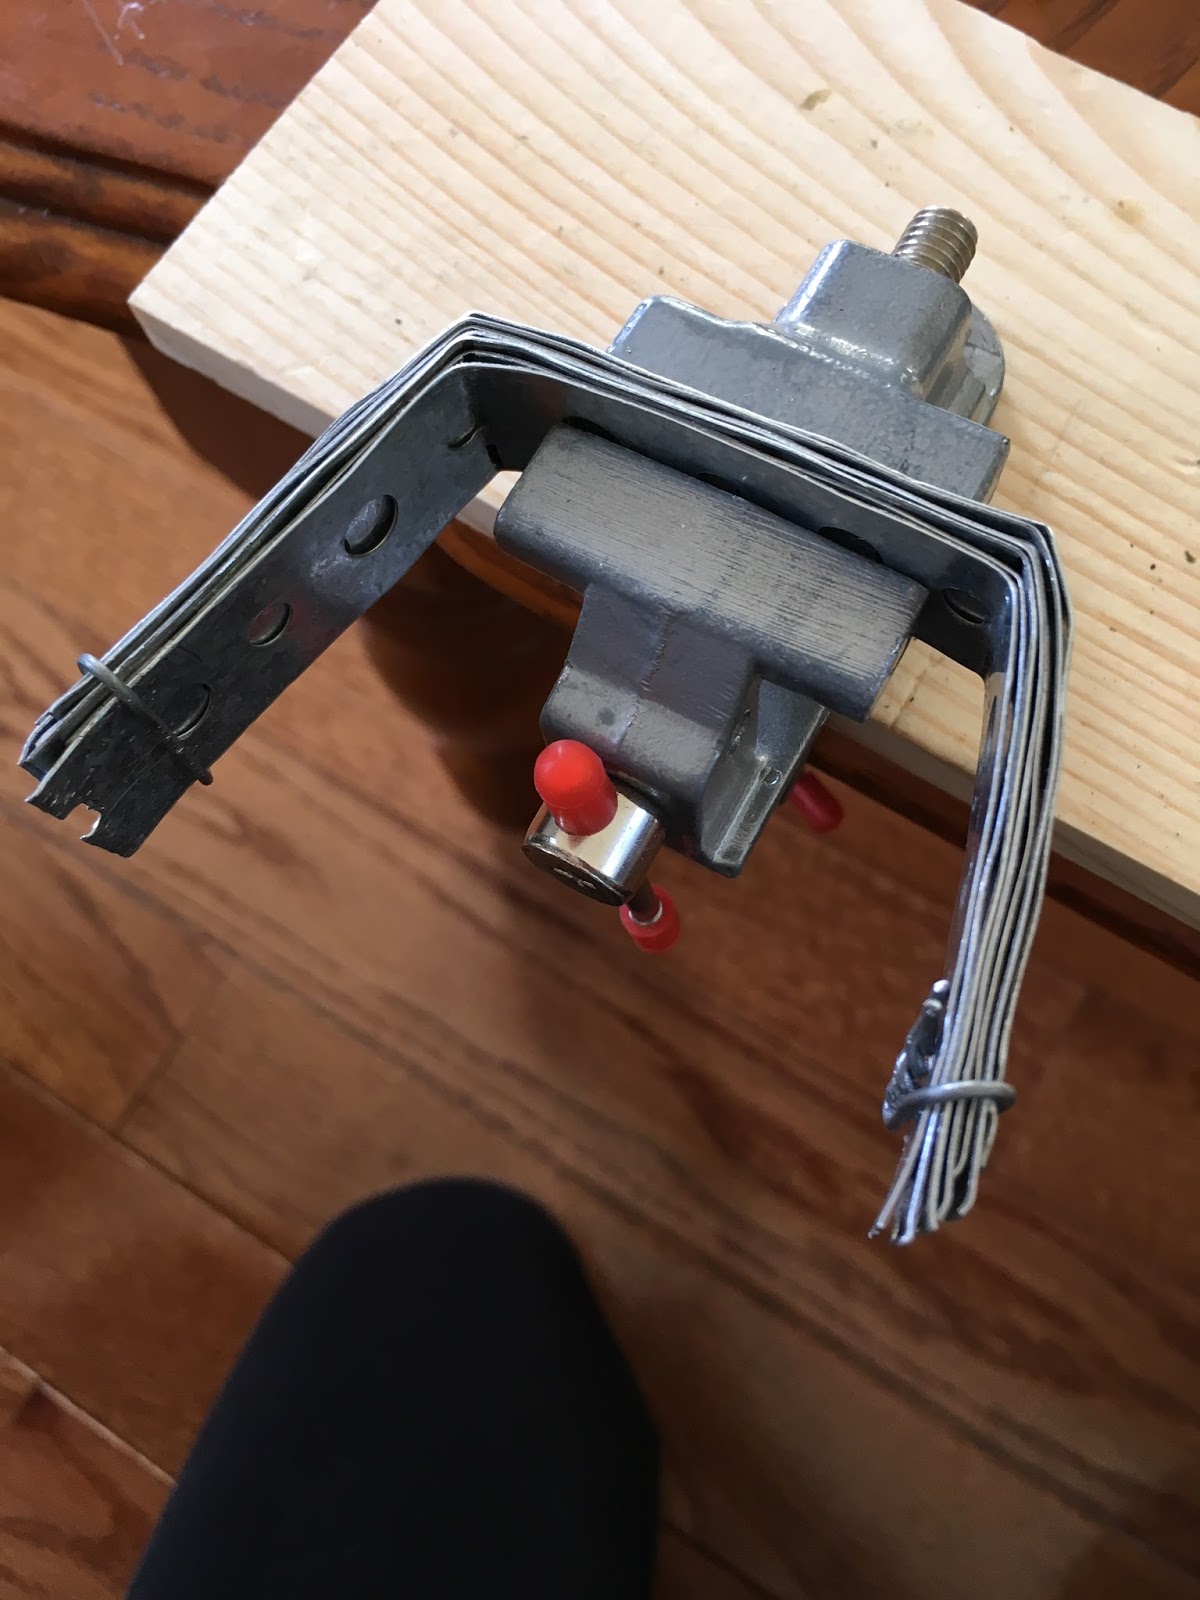
Assembling the Motor
To assemble the motor, I screwed in the shaft supports on either side of the field magnet. I also put the shaft in their supports and made sure the armature was positioned correctly in the field magnet. I then screwed in the brushes on either side of the commutator and made sure the brushes made contact with the terminals. I also taped one of the wires from the field magnet to one of the brush supports. To make the motor run, I connected one gator clip to the other brush support and the other to the other field magnet wire.


MY MOTOR WORKING!!!!!😀
Lol, jk the video wouldn't work😁. Here's a link to the video instead: CLICK ON THIS!!!
Isn't it beautiful?
No comments:
Post a Comment